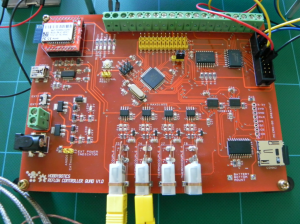
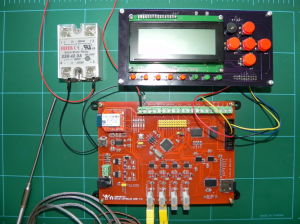
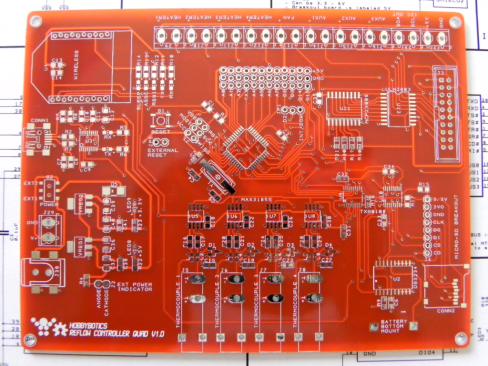
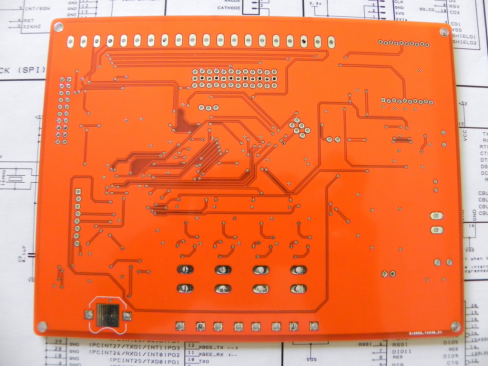
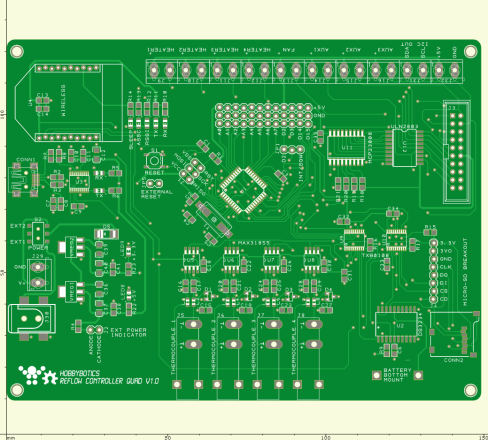
 I’m currently working on documenting this project but, here is a link to my entry for the DesignSpark Challenge. The competition has already been decided and my entry garnered an honorable mention award! This was the first competition that I entered and to win an honorable mention out of over 1000 entrants means a lot to me. I also won a Community Choice Award during the competition for the most popular project. I have to say this was a difficult competition as there was a lot of requirements. For instance, I had to learn how to use DesignSpark PCB as it was required to produce an extension board for the ChipKit Max32. I had to learn the ins and outs of the Max32 as it is/was not entirely compatible with all of the Arduino libraries. This meant some modifications to libaries in order to make them compatible with the Max32. Lastly, there was a long wait for the PCBs to be shipped from China which meant any mistakes in the board files meant lost development time (I made a few mistakes). Time management was definitely crucial in this competition and I ran all the way until the last few minutes for project completion trying to get everything together. A few mistakes kept me from adding all of the software features that I had intended but, I have pretty much completed them since the competition. Check out my entry here and be on the look out for full documentation on my blog to include some extension projects (There’s a lot of goodies in this design that can be carried over into other projects).

